
Publish, connect a domain and maintain your website
Launch first to a test address, connect your own domain using current project values, and keep a practical maintenance routine.
Soidesmax · 4 min read · Updated 2026-10-20
Launch the project you have tested
By now North Studio has responsive pages, real content, reusable styles, article content and a tested contact form. Publishing makes a selected project version available to visitors. It is separate from editing, and a purchased template does not automatically include every hosting feature or domain cost.
Before connecting a domain, review Framer's current plan options inside your account. Limits, pricing and included features can change. Choose based on the pages, CMS content, traffic and domain features you actually need rather than a price quoted in an old tutorial.
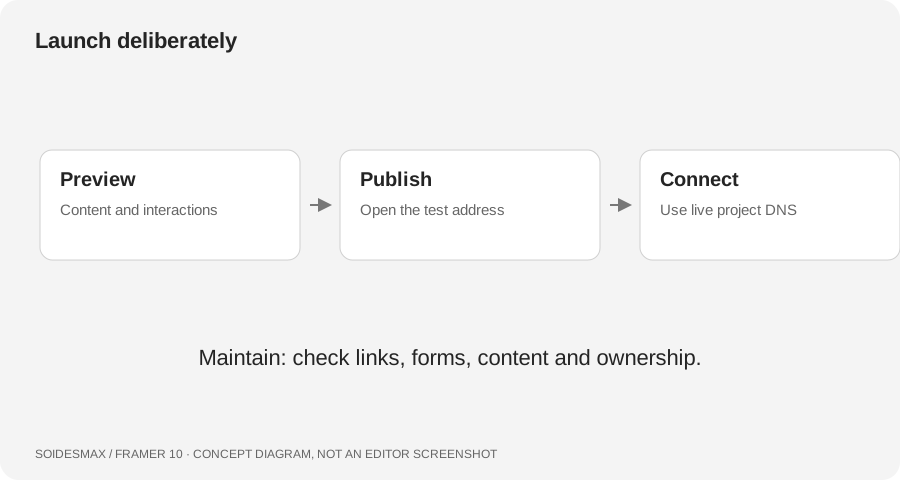
Original launch workflow. Use the live project's DNS instructions, not values copied from this diagram.
1. Complete a short launch rehearsal
Open Preview and check Home, About, Contact and at least two Journal entries at wide and narrow widths. Test navigation, the mobile menu, image crops, article links and form validation. Check license terms, contact details and any business information you need to provide. Remove fictional exercise copy before replacing your real live website.
Keep an inventory of the existing live site's important URLs if you are replacing one. Plan redirects for changed addresses; simply pointing a domain to a new design does not preserve every old article link.
2. Publish to the provided test address
Use Publish in the editor and open the address from its publishing controls. Make a small correction and use Update when ready to publish that change. Verify the actual public page in a separate browser window, rather than treating the Canvas as proof of what visitors see.
Test the contact form again and confirm receipt. Custom code placed in settings may behave differently from Canvas Preview, so review it on the published test site if your project uses it.
3. Connect a domain carefully
In the project's Site Settings, follow Hosting → Domains and the option to connect a domain you own. Enter the intended domain and use the DNS records displayed for that project. Open the registrar's DNS panel separately and compare record type, host/name and value before saving.
Do not delete all DNS records. Existing mail and service records may be essential to other systems. Change only the web records needed for this connection, and resolve conflicts deliberately. Your registrar may show the root name as @ and may format subdomains differently.
DNS updates are not always immediate. Recheck the connection status and test both the preferred domain and its alternate address after propagation. If the project reports an error, inspect the records before changing unrelated settings.
4. Perform the live acceptance test
Open the final HTTPS address on a phone and desktop. Check important old links, page titles, social images, navigation, the CMS index and detail pages, downloads and the real form destination. Ask someone unfamiliar with the project to find your services and send a test enquiry.
5. Keep the site useful after launch
Maintain a small change log: what changed, who checked it and when it was published. Before a larger update, preserve a known working state using the project's available version or duplicate workflow. Review links and form delivery regularly, especially after changing an email address or integration. Keep purchased assets and account ownership documented outside public content.
You have finished the course when you can explain how to edit an article, verify a change and publish intentionally—not merely when the first page looks finished.