
Build a contact form and verify real delivery
Add a native form, label its fields, configure the destination and test both the visitor experience and the received submission.
Soidesmax · 4 min read · Updated 2026-10-20
A form is more than a success message
A visitor pressing Send is only the beginning. North Studio needs the message to reach the right destination, contain the expected fields and explain what happens next. In this lesson, use a test address you control and invented contact details. Never use a stranger's inbox as your test destination.
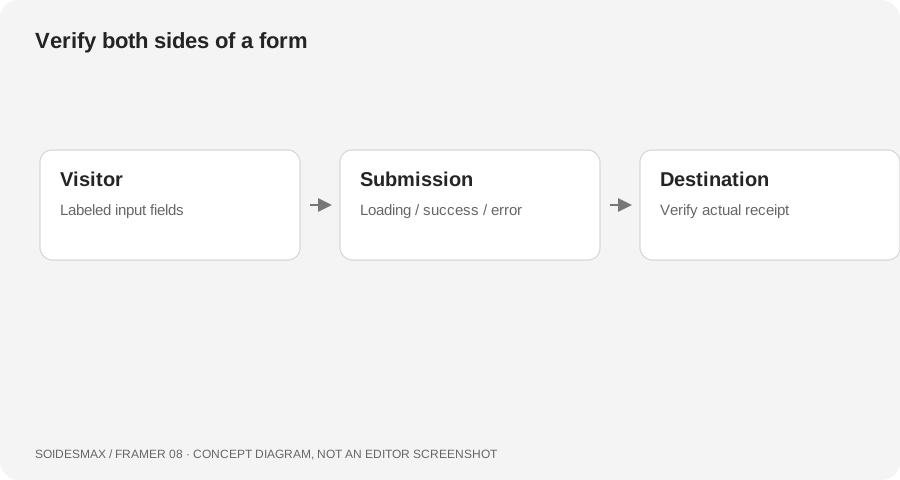
Original form-delivery diagram.
1. Add the smallest useful form
Open Insert → Forms and place a native form in the Contact page's content area. Start with Name, Email and Message, plus a clearly named submit button. Inspect the template first: if it already contains a working native form, adapt it instead of layering a second form on top.
Keep a visible label for every field. Placeholder text alone disappears when someone types. Use an email-appropriate input for Email and make fields required only when you truly need them. Set clear field names so the received submission is understandable.
2. Choose and inspect the destination
Select the Form layer, not a nested input. Inspect its submission destination settings. Native forms support destinations including email, Google Sheets and webhooks. For your first test, choose a destination you can verify directly and complete any verification requested by that integration.
If you need a webhook later, Framer's documented route is the Form's Send To control, then Webhook. That sends submitted data to your endpoint. Do not paste API secrets into public page text or assume a webhook automatically creates a database; it needs a receiving service that validates and processes requests.
3. Design feedback people can understand
Inspect loading, success and error behavior. A useful success message might say Thanks — your message has been sent. We usually reply within two working days only if that reflects your real practice. Keep entered text recoverable when possible and avoid making the button look enabled during an ongoing submission.
Navigate through fields using Tab. Can you identify the focused control? Does the form still fit on a phone with a longer message? Check that a required-field error is readable and does not rely solely on a red border.
4. Review spam protection
Current Framer documentation describes Antispam controls on the Form layer, including protection type and filtering behavior. Review the options available in your project and plan. Do not disable protection as a shortcut when a test fails; first verify the destination, publication state and test data.
5. Test the published experience
Publish the practice site to its test address. Submit a message labeled North Studio test — please ignore. Verify both ends: the visitor sees appropriate feedback and the configured destination receives the correct Name, Email and Message. Check spam folders or integration logs if delivery is missing.
Repeat with an invalid email and an omitted required field. Do not call the form ready because the button animation works. A form that claims success but loses enquiries needs fixing before launch.
If a template uses an external form provider
Identify the service, account owner and destination. Native settings will not configure a separately embedded provider. Follow that provider's own instructions and test delivery there too.